Mod Organizer Configuration
This is a guide on how to setup your mod manager to download and install mods from NexusMods.
- At the top left of Mod Organizer, click Tools, then Settings.
- Navigate to the Nexus tab.
- Click Connect to Nexus and then Associate with “Download with manager” links
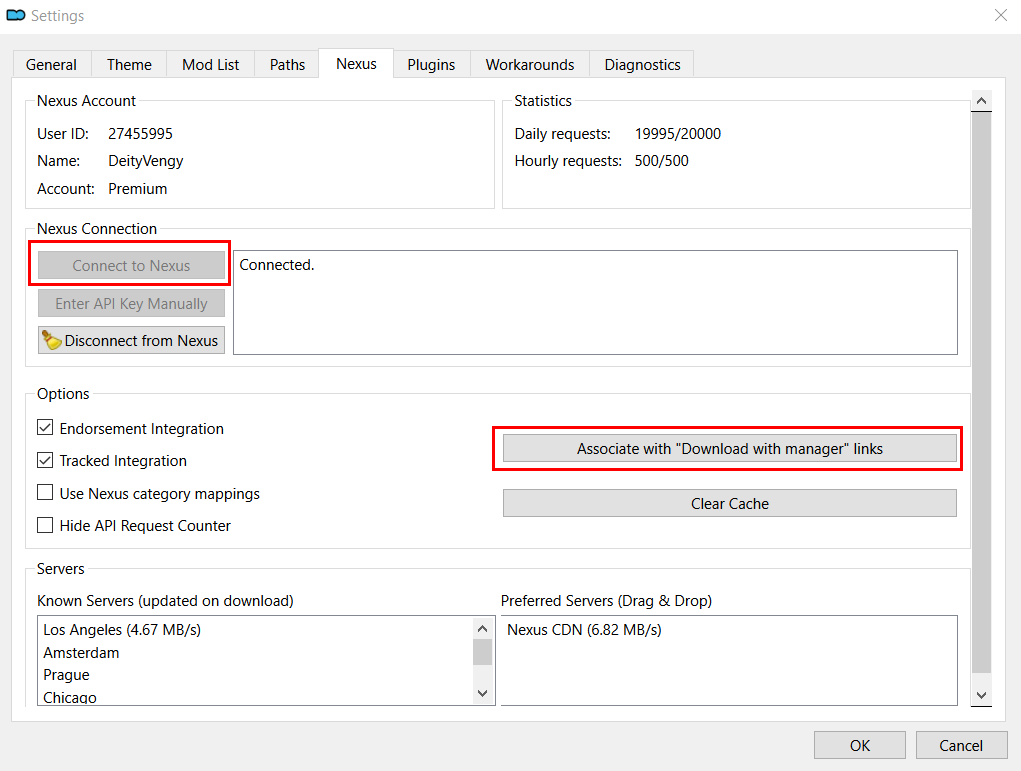
- You’re set.
Download and Install Process
If you have never used Mod Organizer 2 before, please read the basics of the Mod Organizer 2 download and install below.
- When you press Mod Manager Download on NexusMods, that mod will show up in your Downloads tab of Mod Organizer. This tab represents your physical Downloads folder. That means you manually placing a mod’s zip in the Downloads folder yourself or pressing Mod Manager Download are effectively the same thing.
- To install a mod you downloaded, right click it in the Downloads tab of Mod Organizer 2 and press Install.
- If you get a popup saying that no category has been found for the mod, just click Disable
- The name of the mod often autofills to something that’s not relevant. You want to make sure you don’t accidently give it a name of another mod in the modlist.
- Just to make your life easier, always give stuff a unique name different from the autofill one so that you don’t get a popup about replacing and mess things up.
- Even if the mod you downloaded is an update to an existing mod, simply install it with a different name. It’ll still work as intended.
- When you install a mod, it goes into the bottom of your main window where all your other mods are located. At this point, you would simply checkmark the box to enable the mod.
